Installing solar panels at home is a great way to reduce electricity bills and help the environment. By generating your own electricity, you become less reliant on traditional power sources, which often rely on fossil fuels. Solar panels harness energy from the sun, converting it into usable electricity for your home. This clean, renewable energy source minimizes carbon footprints and offers long-term savings.
Understanding the process of installing solar panels can seem daunting, but breaking it down step by step makes it more manageable. From evaluating your home’s solar potential to completing the installation and ensuring proper maintenance, each stage is crucial for a successful solar energy system. Knowing what to expect not only makes the project smoother but also helps you make informed decisions.
Switching to solar energy is a significant investment that pays off over time with lower energy bills and environmental benefits. By following a step-by-step guide, you can ensure a thorough and efficient installation process. This guide will help you navigate each stage, ensuring your journey to a solar-powered home is as seamless as possible.
Assessing Your Home’s Solar Potential
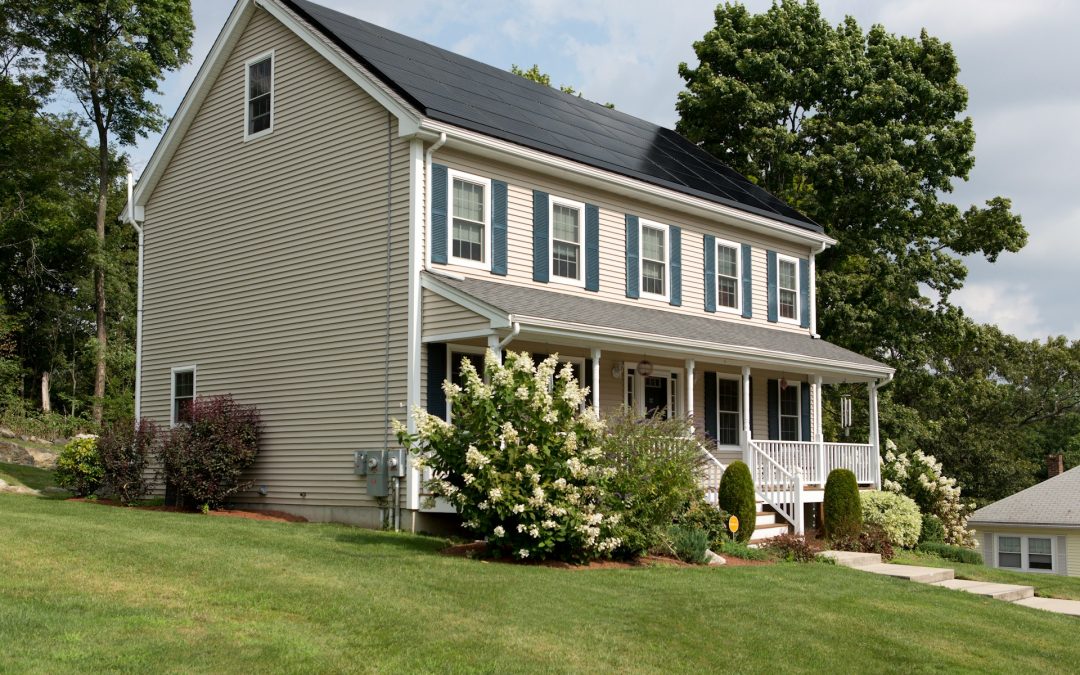
Evaluating roof suitability and positioning are the first steps in determining if your home is a good candidate for solar panels. Start by examining your roof’s condition and structure. A sturdy, well-maintained roof is essential for supporting solar panels. The orientation and angle of your roof also play a significant role. Ideally, your roof should face south and have a slope between 30 to 45 degrees for maximum sunlight exposure. Even if your roof doesn’t perfectly meet these conditions, solar can still be an option with proper planning and adjustments.
Checking local solar policies and incentives is crucial, too. Many regions offer tax credits, rebates, or other incentives to encourage the adoption of solar energy. Research your state and local government programs to understand the financial benefits available to you. Additionally, check with your utility company about net metering policies, which can allow you to sell excess energy back to the grid, further enhancing your savings.
Choosing the Right Solar System for Your Home
There are different types of solar panels, each with distinct benefits. Monocrystalline panels are highly efficient and take up less space, making them a popular choice for homes with limited roof area. Polycrystalline panels, while slightly less efficient, are more affordable and work well for larger roofs. Thin-film panels are the least efficient but offer flexibility and a sleek look, suitable for certain types of installations.
Selecting the right inverter and battery storage options is also important. Inverters convert the direct current (DC) produced by solar panels into alternating current (AC), which powers your home. There are two main types: string inverters and microinverters. String inverters are more cost-effective for larger systems, while microinverters optimize performance on roofs with shading or multiple orientations. Additionally, consider battery storage to store excess energy for use during cloudy days or at night. This can enhance your energy independence and ensure you have a reliable power supply even during outages.
The Installation Process
Installing solar panels involves several key steps to ensure a successful and safe setup. First, a site assessment is conducted to plan the layout of your solar system. Engineers will inspect your roof and create a blueprint for panel placement, wiring, and components. Next, the necessary permits and approvals are obtained from local authorities, ensuring compliance with building codes and regulations. Once permits are secured, the physical installation begins. This includes mounting the panels on your roof, connecting the panels to inverters, and wiring the system to your electrical panel.
Safety measures and professional guidelines must be followed throughout the installation process. Installers should use proper safety gear, such as harnesses and helmets, especially when working on roofs. Electrical connections should be handled by certified professionals to prevent any hazards. It’s crucial to hire a reputable installer with experience and proper certification to ensure the system is installed correctly and safely.
Post-Installation Steps and Maintenance
After installation, inspecting and testing the solar system ensures it operates properly. Your installer will perform a system check, which includes testing electrical connections, ensuring inverters function correctly, and confirming that the panels generate the expected electricity. Once the system passes these tests, it is connected to the grid or your battery storage, and you can start using your solar power.
Maintaining and monitoring your solar panels is vital for long-term efficiency. Regularly cleaning the panels helps maintain optimal performance, as dirt and debris can reduce their effectiveness. Additionally, periodic inspections by professionals can catch any issues early, ensuring your system continues to operate smoothly. Most modern solar systems come with monitoring software that allows you to track energy production and detect potential problems. Keeping an eye on this data helps ensure your system runs efficiently and maintains your energy savings.
Final Thoughts
Installing residential solar panels involves several important stages, from assessing your home’s solar potential to choosing the right system, ensuring proper installation, and maintaining the system. By following these steps, you can effectively transition to clean, renewable energy, reduce your electricity bills, and contribute to environmental sustainability.
At JG Solar Solutions, we are dedicated to helping you through every step of this process, ensuring a smooth and successful solar installation. Contact us today to start your journey towards a greener, more energy-efficient home with JG Solar Solutions!
Recent Comments